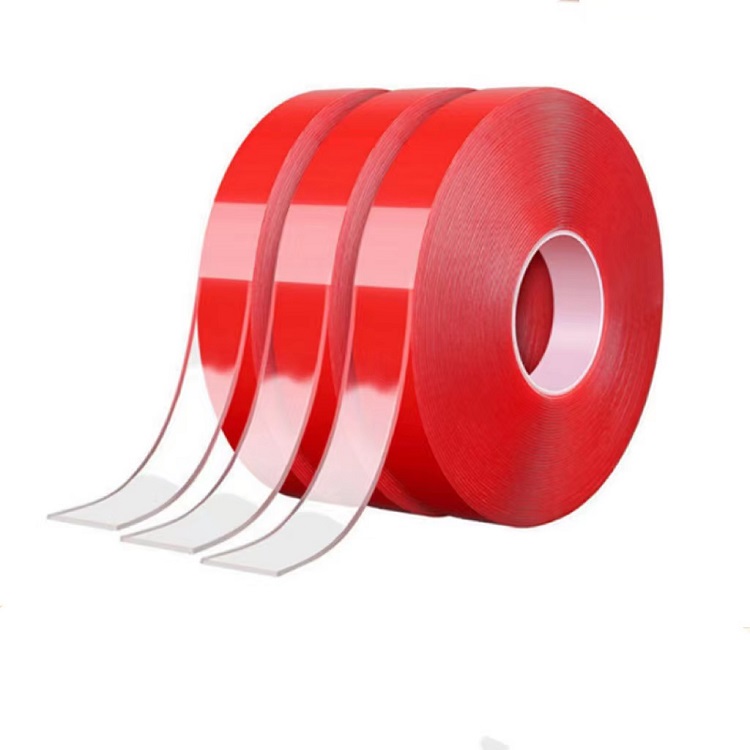
Most tape problems in electronics assembly are specified in, not made in. The tape grade was wrong for the surface, the temperature or the load — and no amount of die-cutting precision can fix a wrong material. Here is the selection logic our engineers use when a customer asks us to "recommend a tape".
1. Start with surface energy
Low surface energy (LSE) plastics — PP, PE, TPO, many powder coatings — bond poorly to standard acrylic adhesives. If your part mounts to an LSE housing, specify an adhesive designed for LSE surfaces (for example 3M's LSE family) or add a primer step. Bonding to PC, ABS or painted metal gives you the full choice of acrylic systems.
2. Temperature window, not just maximum
Check both ends. Standard acrylic tapes serve -40°C to +120°C; high-temp grades reach +150°C or beyond for reflow-adjacent processes. At the cold end, very low temperatures make adhesives stiff — if the part sees thermal cycling, choose a grade rated for cycling, not just for the extreme.
3. Thickness follows the gap
Tape thickness should be 2–3× the gap variation it must absorb. A 0.15 mm thickness tolerance surface needs roughly 0.3–0.5 mm of tape to conform without voids. Thinner is not always better — undersized tape thickness is a top cause of adhesive failure on textured surfaces.
4. Specify the die-cut format early
Tell your converter the assembly method:
| Assembly method | Recommended format |
|---|---|
| Manual placement | Individual parts, peel tab, split liner |
| Automated placement | Reel or kiss-cut sheet, alignment holes |
| Large-area bonding | Spliced roll or sheet with removable liner |
Specifying the format late forces re-quoting and re-tooling. Specifying it with the drawing gets you a correct quote in one round.
Summary checklist
Before requesting a quote, fix these five: substrate surfaces, temperature range, gap/thickness, permanent vs. removable, assembly format. Send those with the drawing and you will get a manufacturable answer, not a guess.